Disclosure: This post contains affiliate links, including Amazon links. As an Amazon Associate, I earn from qualifying purchases. If you buy through these links, I may earn a small commission at no extra cost to you. Thank you for supporting PBJ Creates!
Wondering what felt ornament supplies you actually need before you cut your first piece of felt? Good news: the list is short, friendly on your budget, and most of it lasts for many, many ornaments.
In this guide I’m sharing the same supplies list that’s in my felt ornament pattern PDFs, grouped the same way: felt and stuffing, thread and needles, beads and sparkle, and finishing tools. You’ll also get beginner tips for each one, and a simple supplies checklist split into basic sewing and optional beading.
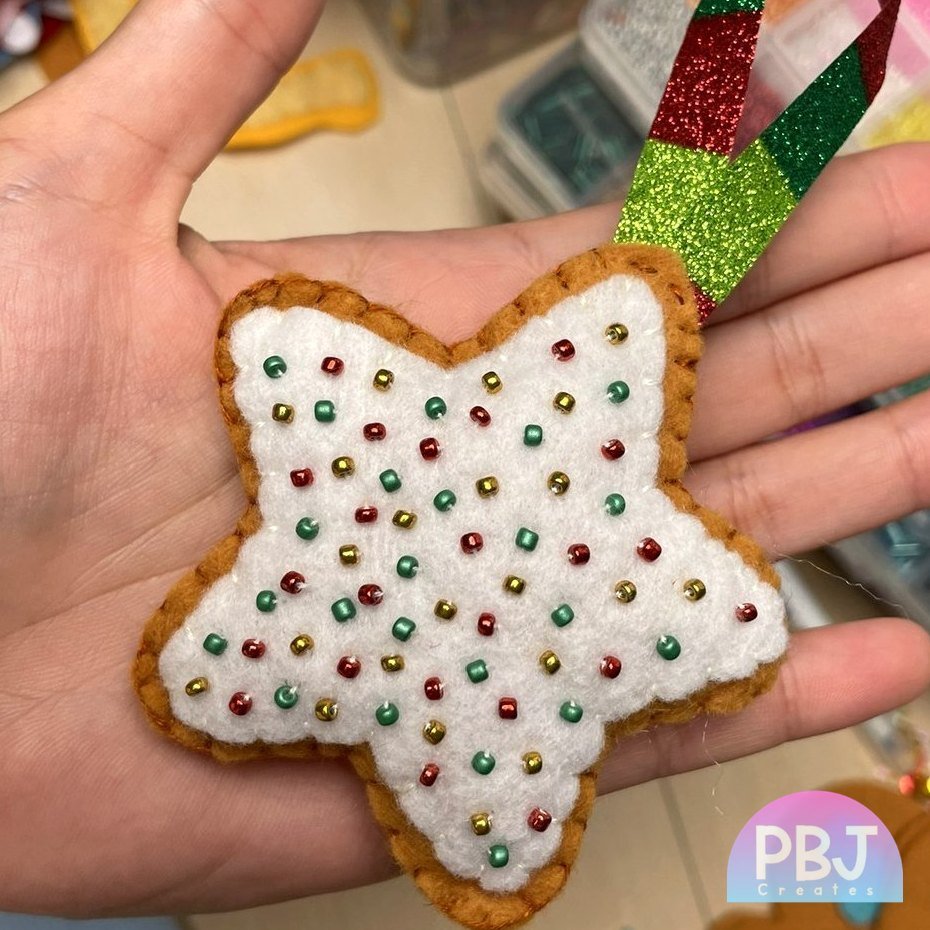
Table of Contents
- Why the Right Supplies Make Felt Ornaments Easier
- Felt & Stuffing
- Thread & Needles
- Beads & Sparkle
- Finishing & Tools
- Nice to Have
- Felt Ornament Supplies Checklist
- Ready to Make Your First Ornament?
Why the Right Supplies Make Felt Ornaments Easier ✨
Crafting with felt is one of the most beginner-friendly ways to sew. Felt doesn’t fray, so you can cut a shape and start stitching right away. A small ornament takes only a little felt, a few beads and some thread, which makes it a budget-friendly hobby and a sweet way to make handmade gifts.
Good supplies just make it smoother. Nicer felt cuts cleaner, a thin needle slides through tiny beads, and sharp scissors give you crisp edges. These are the exact kinds of supplies I use, but any similar brand will work too!
Felt & Stuffing 🧸
1. Felt 🟥
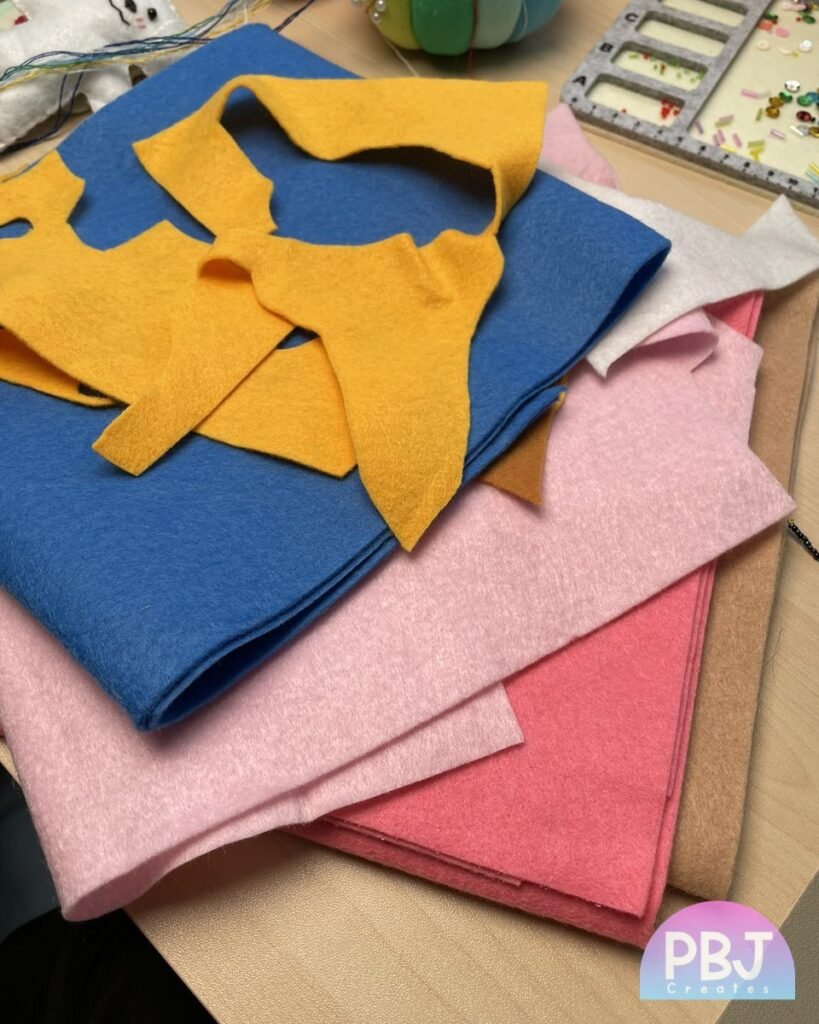
What it’s for: Soft wool-blend sheets in lots of colors. This is the base of every ornament: the front, the back and all the little appliqué pieces on top.
Beginner tips:
- Wool-blend felt is a mix of wool and rayon or other fibers. It’s thicker, softer and smoother than basic acrylic craft felt, so it holds its shape, cuts with cleaner edges and pills less as you handle it.
- Acrylic craft felt is cheaper and easy to find, but it’s thinner and can stretch or fuzz. For ornaments you’ll keep for years, wool-blend is worth it.
- Thickness matters too. In my Christmas cookie tutorial I suggest felt that’s not too thin, but also not super thick.
- Start with a handful of colors you’ll use again and again, like white, red, green, brown and a few pastels.
- Cut the front and back pieces together so they match perfectly. My guide on how to transfer felt patterns shows how, and I explain why I like doing this in my How to Transfer Felt Patterns video.
Shop: Felt
2. Stuffing ☁️
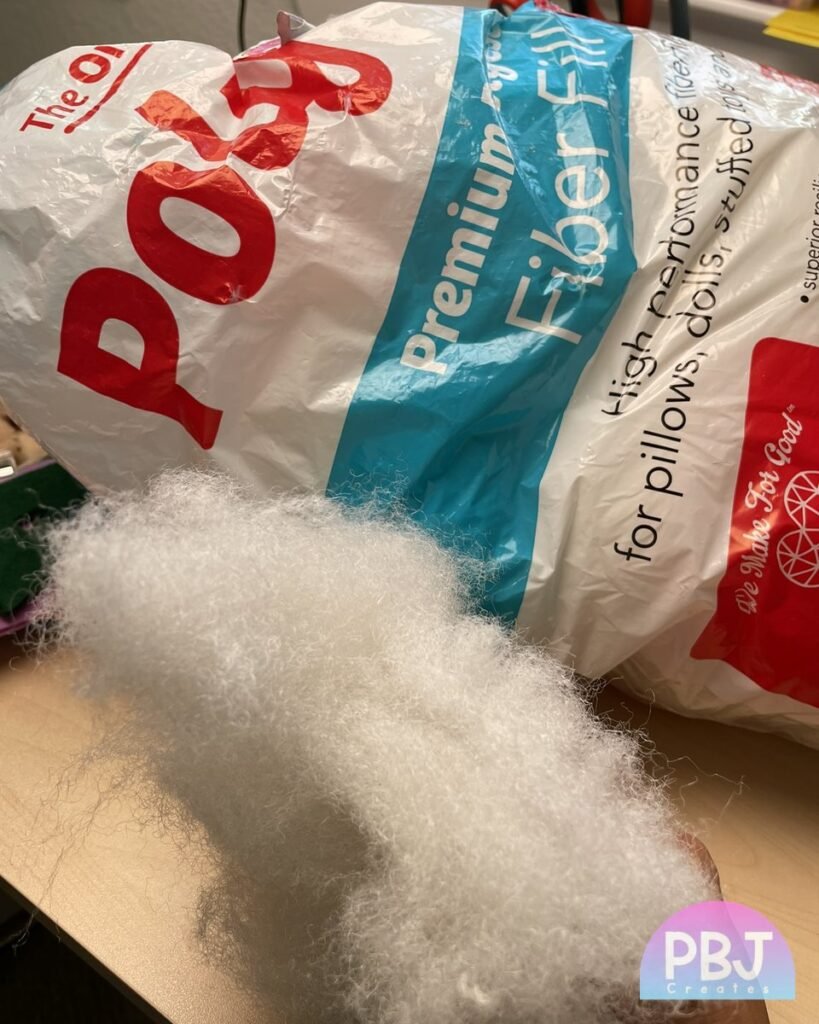
What it’s for: Polyester fiberfill for a light, puffy finish.
Beginner tips:
- Add small pinches at a time instead of one big clump. This keeps the ornament smooth, not lumpy.
- Use the back of a pencil or a chopstick to push stuffing into points and corners.
- Aim for gently puffy. Too much stuffing can stretch the felt and pull at your stitches.
Shop: Stuffing
Thread & Needles 🧵
3. Floss Threads 🌈
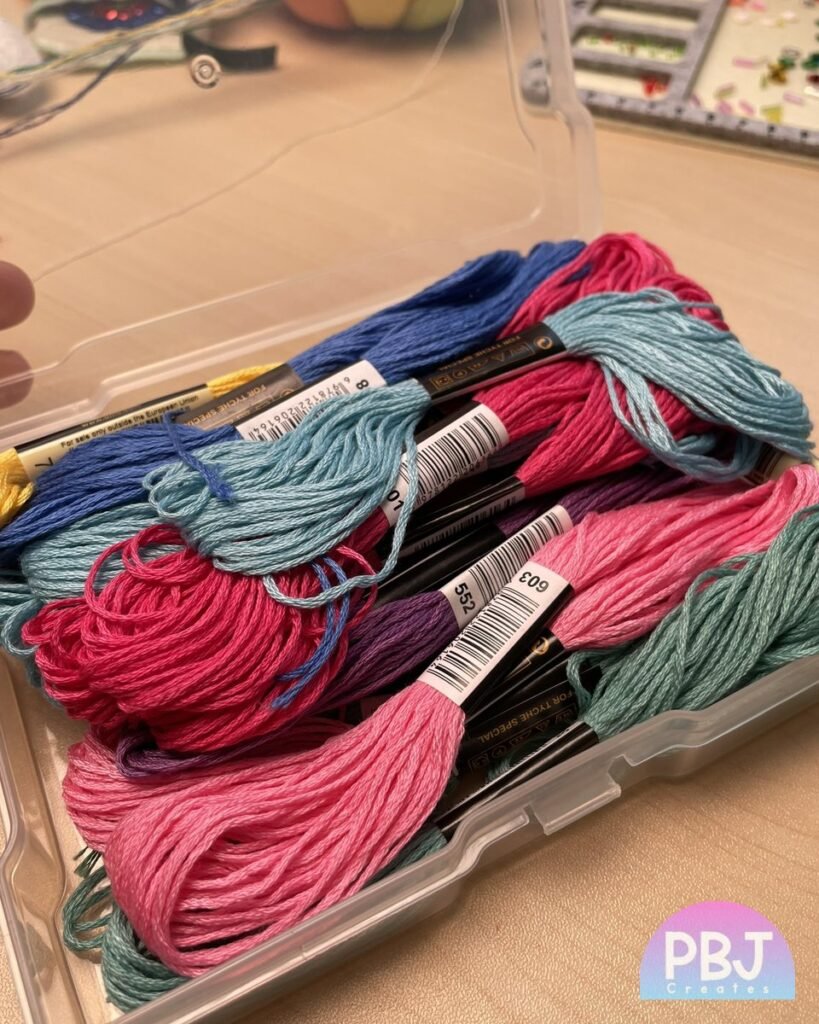
What it’s for: 6-strand embroidery floss for stitching and faces. You’ll use it for blanket stitch and whip stitch around the edges, backstitch details, and French knot eyes.
Beginner tips:
- Floss is made of 6 strands you can pull apart. Fewer strands give a finer line, more strands give a bolder one. In my Christmas cookie tutorial I use two strands of floss for attaching the felt icing and for the blanket stitch around the edges.
- Cut pieces about 18 inches long. Longer pieces tangle and wear thin as you sew.
- Match the floss to your felt for invisible edges, or pick a contrast color to show off your stitches.
- You’ll also need a regular embroidery or hand-sewing needle with an eye big enough for floss. In my cookie tutorial I use a regular embroidery needle for attaching felt pieces.
- Wondering if you can glue felt instead of sewing it? You can, but I prefer stitching over glue. I explain why in my post on how to attach felt pieces without glue and in my How to Attach Felt Pieces Without Glue video.
Shop: Floss threads
4. Needles for Beading
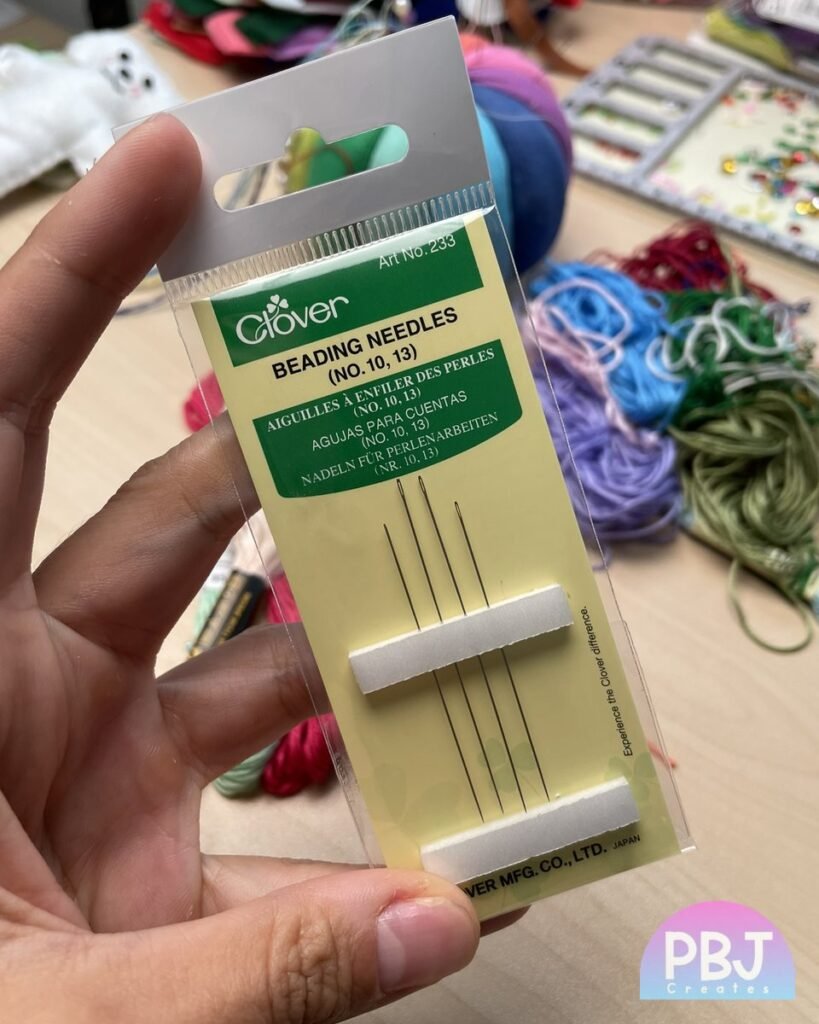
What it’s for: Long, thin needles that fit through seed beads.
Beginner tips:
- Regular embroidery needles are for floss and for stitching felt pieces together. Beading needles are made long and very thin so tiny seed beads and tube beads slide right on, because a regular needle won’t fit through them.
- Beading needles are sized by number, and a higher number means a thinner needle. In my Christmas cookie tutorial I suggest size 10 or 11, depending on your beads. Check that your beads fit on the needle before you start stitching.
- Skip super long beading needles. In the cookie tutorial I explain that they’re too flexible to push through felt easily.
- Pair your beading needle with Nymo thread, a strong nylon beading thread. It’s thin enough for a beading needle and tougher than embroidery floss, so your beads and sequins stay secure. It’s the thread I list for beading in my pattern PDFs.
- I cover how to choose a needle for small beads in my tutorial on how to sew beads and sequins on felt and in my How to Sew Beads & Sequins on Felt video.
Beads & Sparkle 💎
Adding beads and sequins is one of my favorite ways to decorate handmade felt Christmas ornaments. You don’t need all of these to start. Seed beads and round sequins alone go a long way.
5. Seed Beads ⚪
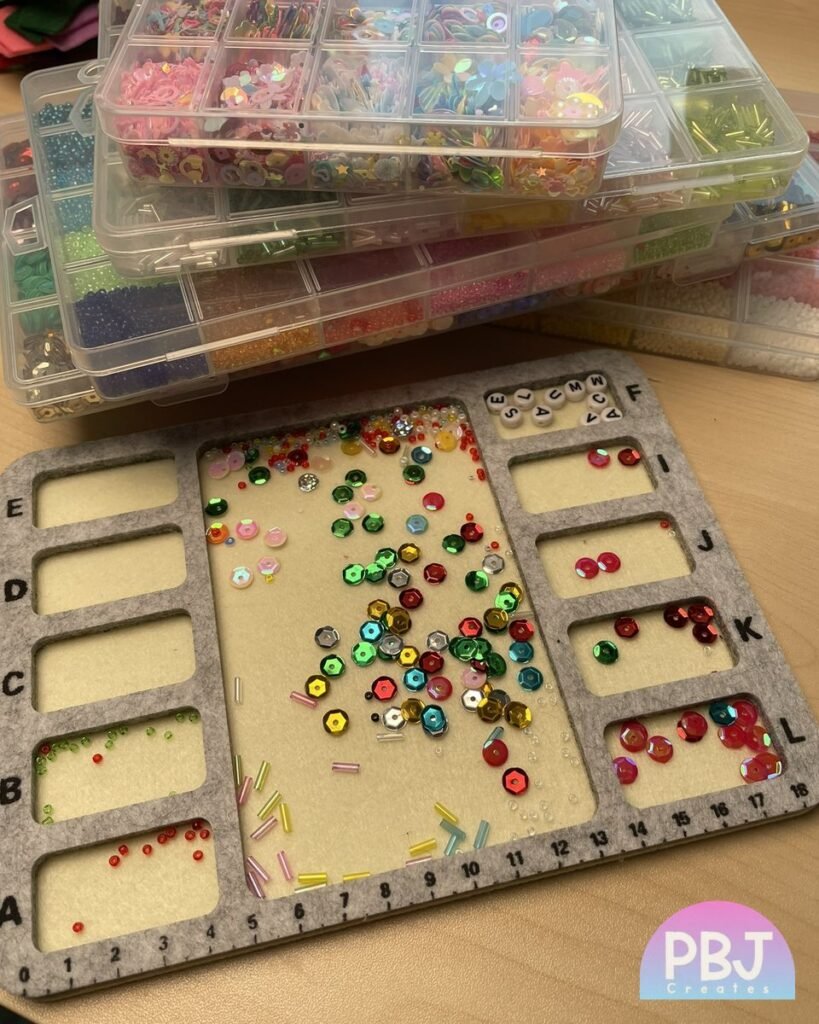
What it’s for: Tiny round beads for outlines, dots and fills.
Beginner tips:
- A mixed kit of colors is the easiest way to start, since you can try lots of looks.
- Use them for sprinkles, eyes, a beaded backstitch outline, or as the little “stop” bead that holds a sequin in place.
- Work in a shallow dish or on a bead mat so they don’t roll away.
Shop: Seed beads
6. Tube Beads 🍬
What it’s for: Little bugle tubes for stripes, rays and sprinkles.
Beginner tips:
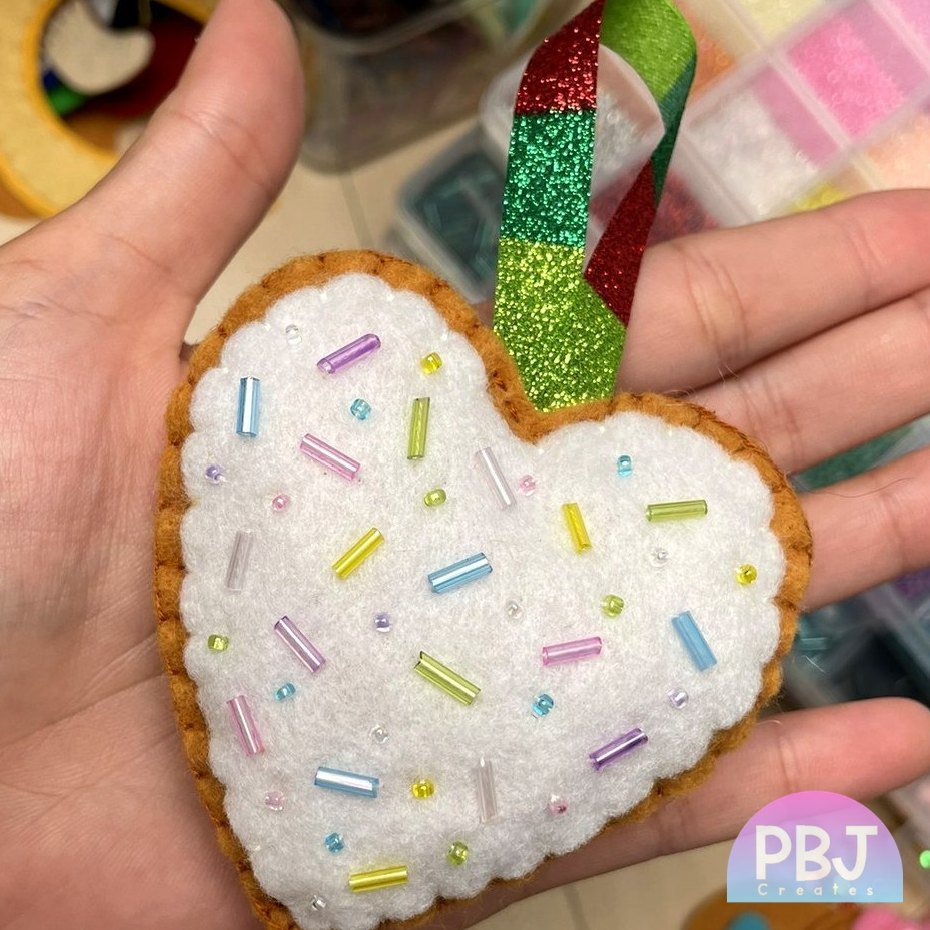
- Tube beads make the cutest cookie and donut sprinkles. Scatter them in different directions for a fun, natural look.
- Bring the needle up at one end of the bead and back down at the other end so it lies flat. My beads and sequins video shows how.
Shop: Tube beads
7. Sequins
What it’s for: Round sequins for shimmer and scales.
Beginner tips:
- The easiest way to attach a sequin: come up through the center hole, add one seed bead, then go back down through the same hole. The bead holds the sequin flat.
- You can also stitch a sequin directly onto felt with a few stitches over the edge.
- Overlap rows of sequins for fish scales, sparkly icing, or a shiny candy cane stripe.
Shop: Sequins
8. Cute Sequins ⭐
What it’s for: Stars, hearts and fun shapes for extra charm.
Beginner tips:
- A single star or heart sequin with a seed bead in the center makes a quick focal point.
- Try them as flowers, tree toppers or tiny accents on a gift ornament.
Shop: Cute sequins
9. Alphabet Beads 🔤
What it’s for: Letter beads for names, words and greetings.
Beginner tips:
- Lay out the whole word on the felt before you stitch, so the spacing looks even.
- Stitch through each bead twice so it sits firmly and doesn’t tilt.
- A name on the back of an ornament makes it a sweet personalized gift.
10. Number Beads 🔢
What it’s for: Perfect for years and dates on keepsakes.
Beginner tips:
- Add the year to a baby’s first Christmas ornament or a holiday gift so it becomes a keepsake.
- Stitch them the same way as alphabet beads, and check the order before you knot off.
Finishing & Tools ✂️
11. Christmas Ribbon 🎀
What it’s for: For the hanging loop, about 6 inches per ornament.
Beginner tips:
- Fold the ribbon into a loop and tuck the ends between the front and back felt before you stitch them together, so it’s secured inside the ornament.
- This is my favorite way to add a hanging loop, because I can control how the ornament faces when it’s hanging on the Christmas tree. My step-by-step guide shows how to attach a ribbon loop to a felt ornament, or watch How to Attach a Ribbon to a Felt Ornament.
- Thread or string works too. I just like ribbon because it looks cute and the ornament hangs nicely.
12. Scissors ✂️
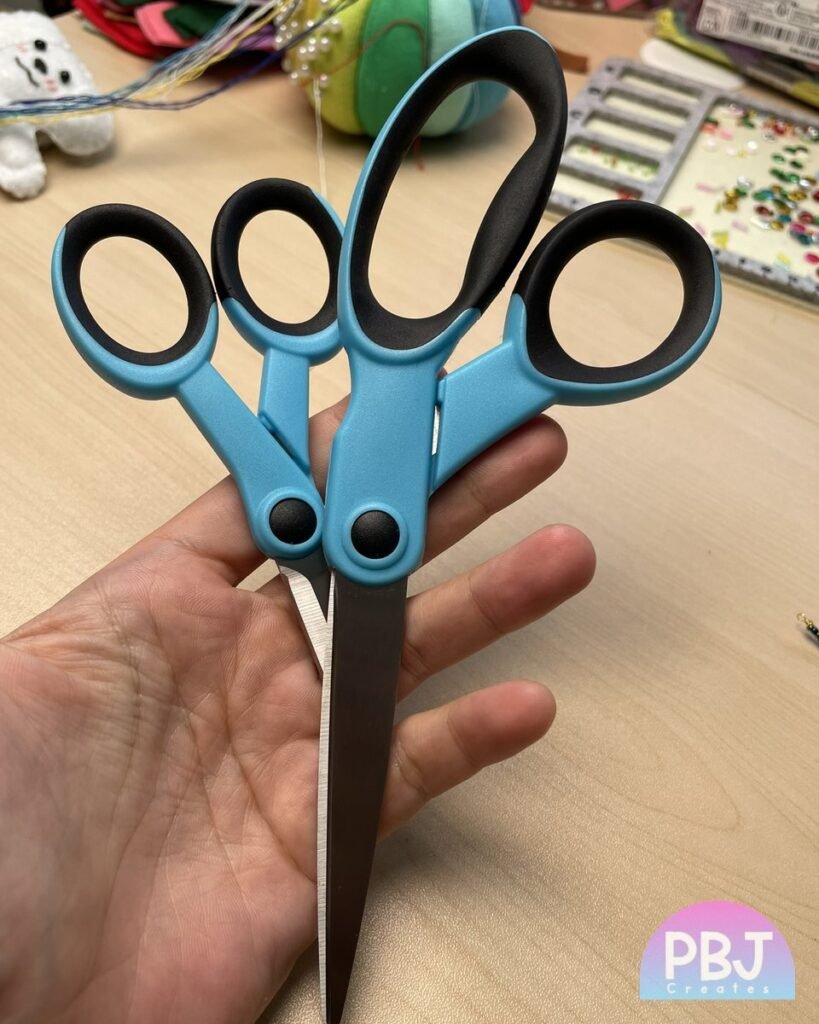
What it’s for: Small, sharp scissors for clean felt edges.
Beginner tips:
- Small scissors with pointy tips make it much easier to cut tight curves and tiny pieces.
- Keep them for fabric and thread only. Cutting paper dulls the blades fast.
- Move the felt, not the scissors, as you cut around a curve for a smoother edge.
Shop: Scissors
13. Cardstock 📄
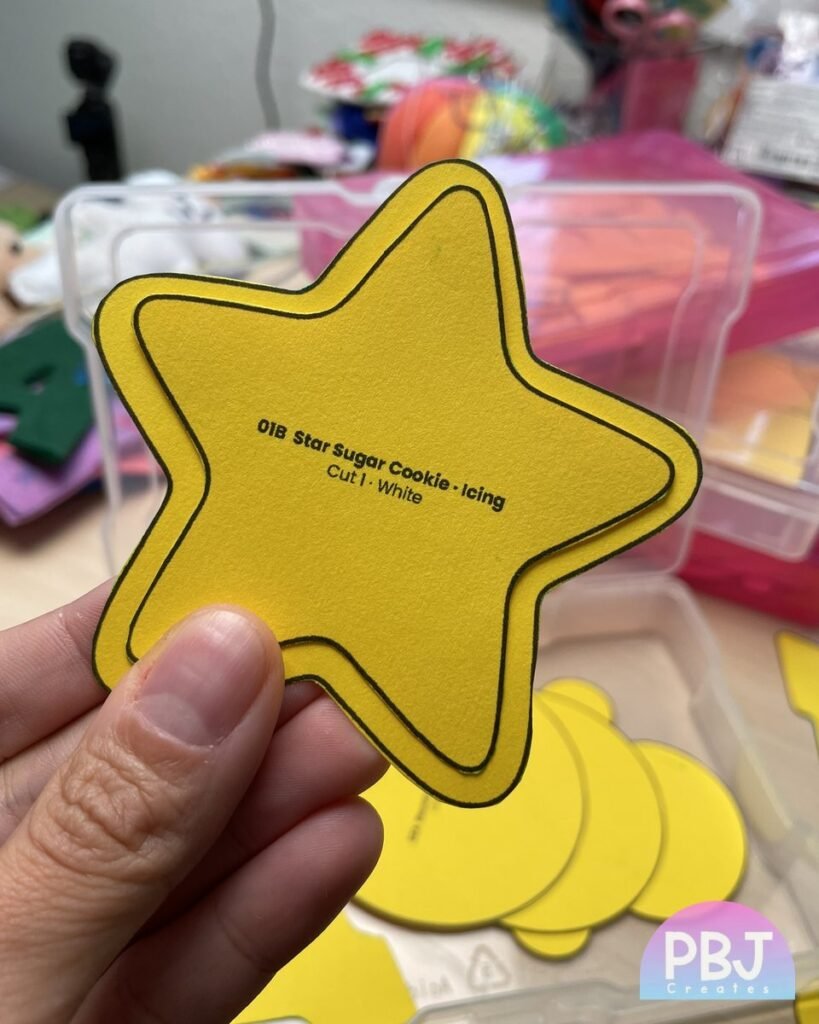
What it’s for: Print favorite patterns as sturdy templates.
Beginner tips:
- Print the pattern on cardstock, cut out the pieces, and trace around them onto felt.
- Cardstock templates hold up well, so you can reuse them again and again.
- Label each piece with the pattern name and keep them in an envelope.
Shop: Cardstock
14. Water-Erasable Fabric Marker 🖊️
What it’s for: Trace patterns on felt. Marks rinse away with water.
Beginner tips:
- Test it on a scrap of felt first, so you know it rinses out of that color.
- In my Christmas cookie tutorial I rinse the marks away with warm water.
- Keep heat away from the marks, like an iron, until they’re rinsed out, since heat can make some marks harder to remove.
- I share how I trace patterns with a water-erasable fabric pen in How to Transfer Felt Patterns.
Nice to Have 🎁
These aren’t must-haves for your first ornament, but they’re fun to add as you go:
- Cute sequins, alphabet beads and number beads: extra charm, names and dates once you’re comfortable with seed beads.
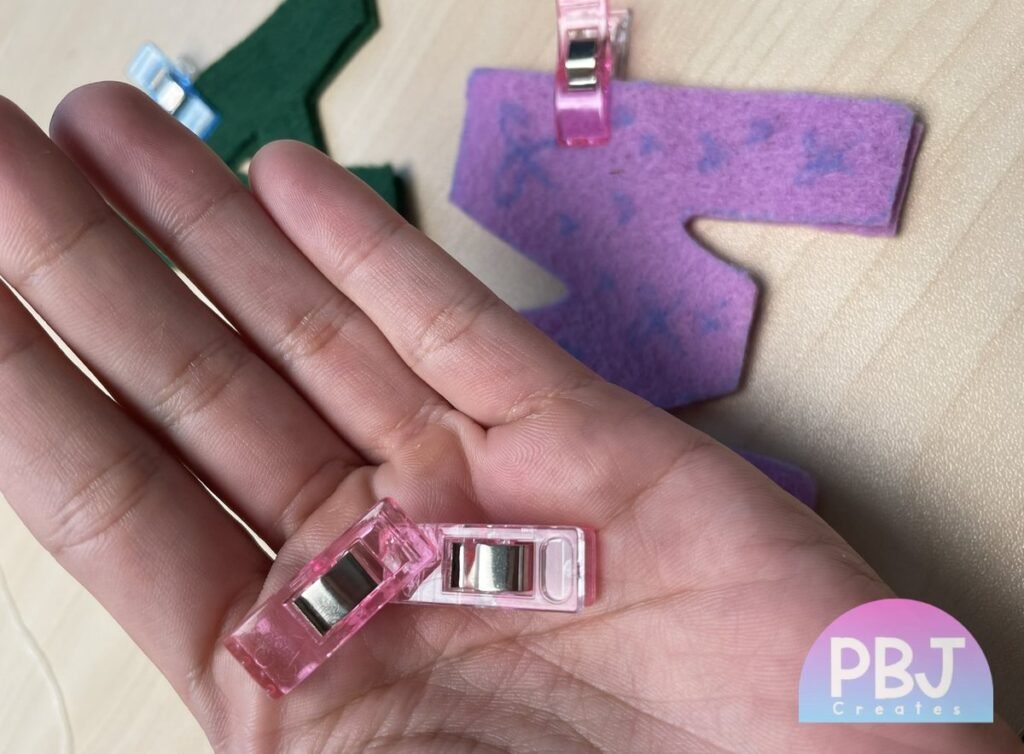
- Sewing clips: totally optional, but handy. In my cookie tutorial I use them to keep stacked felt layers from shifting while I cut and stitch.
- Printable embroidery transfer paper: great for designs with embroidery details you want to stitch. [Prima: add a link if you have one]
- Freezer paper: another easy way to transfer a pattern onto felt. [Prima: add a link if you have one]
Felt Ornament Supplies Checklist ✅
Here’s everything in one place. Start with the basic sewing list for your first felt ornament, then add the beading supplies when you’re ready for some sparkle.
Basic sewing
- [ ] Wool-blend felt in a few colors (not too thin, not super thick)
- [ ] Polyester fiberfill stuffing
- [ ] 6-strand embroidery floss
- [ ] A regular embroidery needle for floss
- [ ] Small, sharp scissors
- [ ] Cardstock or transfer paper for your templates
- [ ] A water-erasable fabric marker
- [ ] About 6 inches of ribbon per ornament
- [ ] Sewing clips (optional)
- [ ] A pattern (start with my free Christmas Cookies set below!)
Optional beading
- [ ] A beading needle (size 10 or 11, depending on your beads) and Nymo thread
- [ ] A mixed pack of seed beads
- [ ] Tube beads
- [ ] Round sequins
- [ ] Cute sequins, alphabet beads or number beads
More Felt Ornament Tutorials 🎥
My Felt Ornament How To Series walks you through each skill:
- How to Transfer Felt Patterns
- How to Attach Felt Pieces Without Glue
- How to Sew Beads & Sequins on Felt
- 4 Ways to Make Eyes for Felt Ornaments
Ready to Make Your First Ornament? 🍪
Once your supplies are ready, you just need a pattern. A great place to start is my free Christmas Cookies felt ornament patterns: a Star, Heart, Round and Christmas Tree sugar cookie. Each one finishes about 3 to 3.5 inches.
Want to see these supplies in action? My step-by-step felt Christmas cookie ornament tutorial uses this free pattern from tracing the first piece to tying the final knot.
Every pattern set includes actual-size patterns, step-by-step instructions, a materials guide, beading ideas, finished photos and tutorial video links. When you’re ready for more, browse all my felt ornament pattern sets.
What’s on Your Felt Ornament Supply List? 🧡
You don’t need a whole craft store to get started. A little felt, some floss, a beading needle and a few sparkly beads are enough to make something you’ll be proud to hang on the tree or give as a gift. Start small, have fun, and add to your stash as you go.
If you make an ornament, I’d love to see it! Tag @pbjcreates on Instagram or Pinterest, and subscribe to PBJ Creates on YouTube for more felt tutorials.
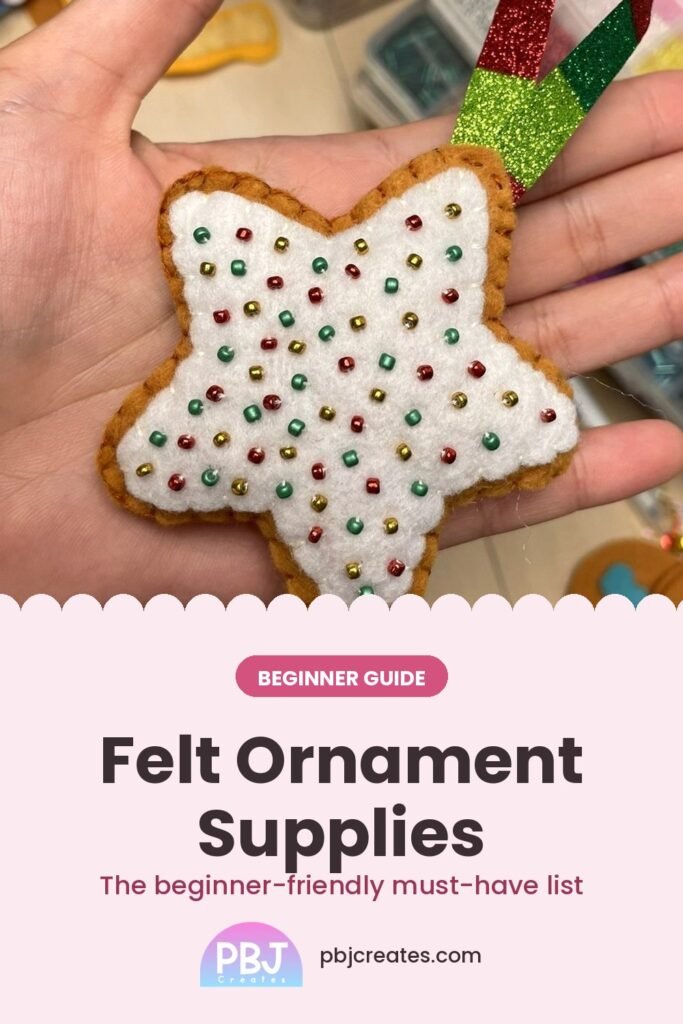
Save this for later: pin the image below to your Pinterest board 📌
Bye for now,
Prima from PBJ Creates 🧡

Love making little handmade things?
Try my felt ornament patterns: actual-size printable PDFs with step-by-step instructions and beading ideas. Start with a free Christmas cookie set!