Disclosure: This post contains affiliate links, including Amazon links. As an Amazon Associate, I earn from qualifying purchases. If you buy through these links, I may earn a small commission at no extra cost to you. Thank you for supporting PBJ Creates!
Want to learn how to make a beaded tube flower that adds a fun pop of shape to your bouquet? This little flower uses long tube beads (also called rod beads) and tiny seed beads. Each of the six petals is made the same easy way, and the real trick is rolling them into a spiral before you twist the wire.
This tutorial comes straight from Part 2 of my beaded flower video series. Below you’ll find the bead counts, every step written out, and tips to help your tube flower turn out just right. Let’s make one together!
Watch the Video 🎥
The tube flower is in Part 2 of my beaded flower tutorial, right after the fan flower.
What You’ll Need 🧰
- Size 11 seed beads (about 2 mm) in your petal color, plus green for the stem. This small size is perfect for detail work like tulip petals. Check out the seed beads I use here
- Tube Beads for the petal. Check out the tube beads I use here
- Copper wire, about 0.3 mm thick. You’ll need about 12 inches. This thickness bends easily and still holds the flower’s shape. It comes in lots of colors, and I personally love gold. Check out the copper wire I use here
- Cutter pliers to trim your wire
- Loop pliers (round nose pliers) to make the little loop at the end of the stem. Beading tool kit (the pliers are a little different from the ones in my video)
- A felt bead mat (optional, but I highly recommend it). It keeps your beads from rolling everywhere, which saves you a lot of frustration.
I usually start with about 12 inches of wire for this flower. You need both bead shapes here: the tube bead makes the long part of the petal and the three seed beads sit at its tip. Using only seed beads would change the shape. New to beaded flowers? My beaded flower supplies guide walks you through everything.
How Many Beads Do You Need for a Beaded Tube Flower? 📝
| Part | Beads | How many |
|---|---|---|
| Each petal | 1 tube bead + 3 seed beads | 6 petals |
| Flower | 6 tube beads + 18 seed beads | 24 beads |
| Stem | About 22 green seed beads | 1 stem |
| Total | 6 tube beads + about 40 seed beads | About 46 beads |
That’s 6 tube beads and 18 petal seed beads for the flower, plus about 22 green seed beads for the stem.
How to Make a Beaded Tube Flower 🌸

Step 1: Make the First Petal
- Cut about 12 inches of copper wire.
- Add 1 tube bead, then 3 seed beads in your petal color.
- Take the end of the wire coming out of the seed beads. Skip over those 3 seed beads and thread the wire back through the tube bead.
- Pull it tight. You’ll see the 3 seed beads grouped together at the top with the tube bead at the bottom. That’s your first petal!
Step 2: Make 5 More Petals
- Add 1 tube bead, then 3 seed beads.
- Skip the seed beads and thread the wire back through the tube bead.
- Pull tight to form the next petal.
- Keep repeating until you have 6 petals total.
Step 3: Roll the Petals Into a Spiral
- Before you twist the wires together, gently roll the petals over each other. It’s kind of like forming a spiral, almost like you’re rolling them into a small tube.
- Bring both ends of the wire together.
- Twist, twist, twist to secure everything.
- Once it’s secure, trim off any extra wire if needed, leaving enough for your stem.
Step 4: Add the Stem
- Add your green seed beads onto the wire. I usually add about 22 beads, but you can adjust depending on how long you want your stem.
- Once you’re happy with the length, use your loop pliers to bend the wire into a small loop at the end.
- Wrap the remaining wire around that loop a few times. This makes a little stopper so your beads don’t fall off.
- Trim any extra wire. And that’s it! Your tube flower is finished.
Tips for the Best Tube Flower ✨
- Pull tight after every petal. Snug petals hold their shape much better when you roll them.
- Roll before you twist. If the spiral keeps opening, shape it first, then twist the wires. Once they’re twisted, the shape is locked in.
- Twist a few times. The more you twist, the more secure your flower will be.
- Play with color. Try tube beads in one color and seed beads in another for a fun contrast.
- Use a bead mat. Tiny seed beads love to roll away, and a felt mat keeps them right where you need them.
- Craft safely. Small beads and cut wire ends aren’t for little ones, so keep an adult nearby if kids are helping.
Once you get the hang of the petal step, it goes quickly.
Ways to Use Your Tube Flower 💐
- In a bouquet: The tube flower adds a different shape and texture next to rounder flowers like the fan flower or five petal flower. See my beaded flower bouquet guide to put it all together.
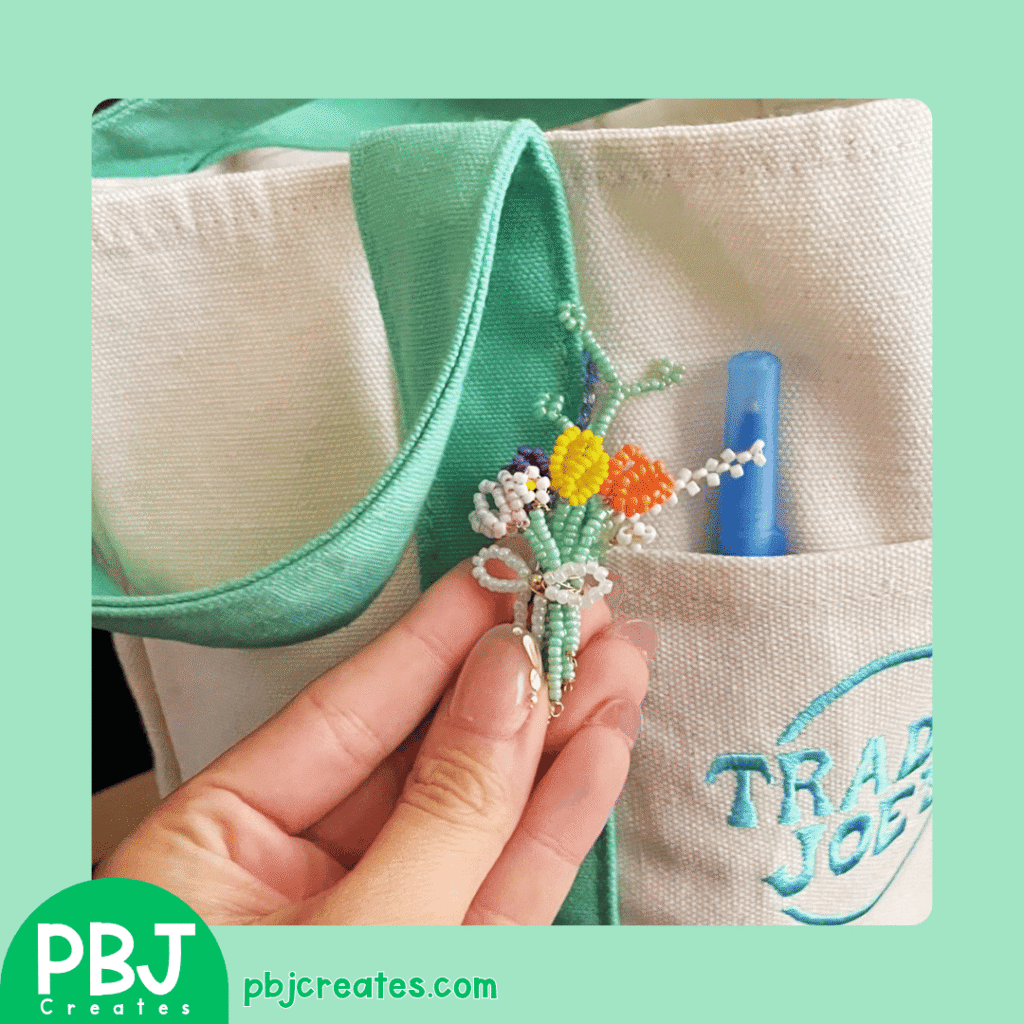
- As a keychain or bag charm: Make a mini bouquet and add a keychain ring.
- As a gift topper: Twist the stem around a ribbon on a present.
- On its own: A few tube flowers in different colors look cute in a tiny bud vase.
More Beaded Flowers to Make 🌷
- Watch the full Part 1 – Beaded Flower Tutorial
- Watch the full Part 2 – Beaded Flower Tutorial
- Watch the full Part 3 – Beaded Flower Tutorial
What Color Will You Make Yours?
The tube flower is such a fun way to add something a little different to your beaded bouquet. Pick your favorite colors, take your time with the rolling step, and enjoy watching your little spiral bloom come together. Every flower you make gets a little easier!
I’d love to see your tube flowers! Tag me @pbjcreates on Instagram or Pinterest, and subscribe to my YouTube channel for more beaded flower tutorials.
Bye for now, Prima from PBJ Creates 🧡

Love making little handmade things?
Try my felt ornament patterns: actual-size printable PDFs with step-by-step instructions and beading ideas. Start with a free Christmas cookie set!